MetaMask Configuration (Optional)
Note:MetaMask configuration is only required when the mcp server is configured to use MetaMask for signing.
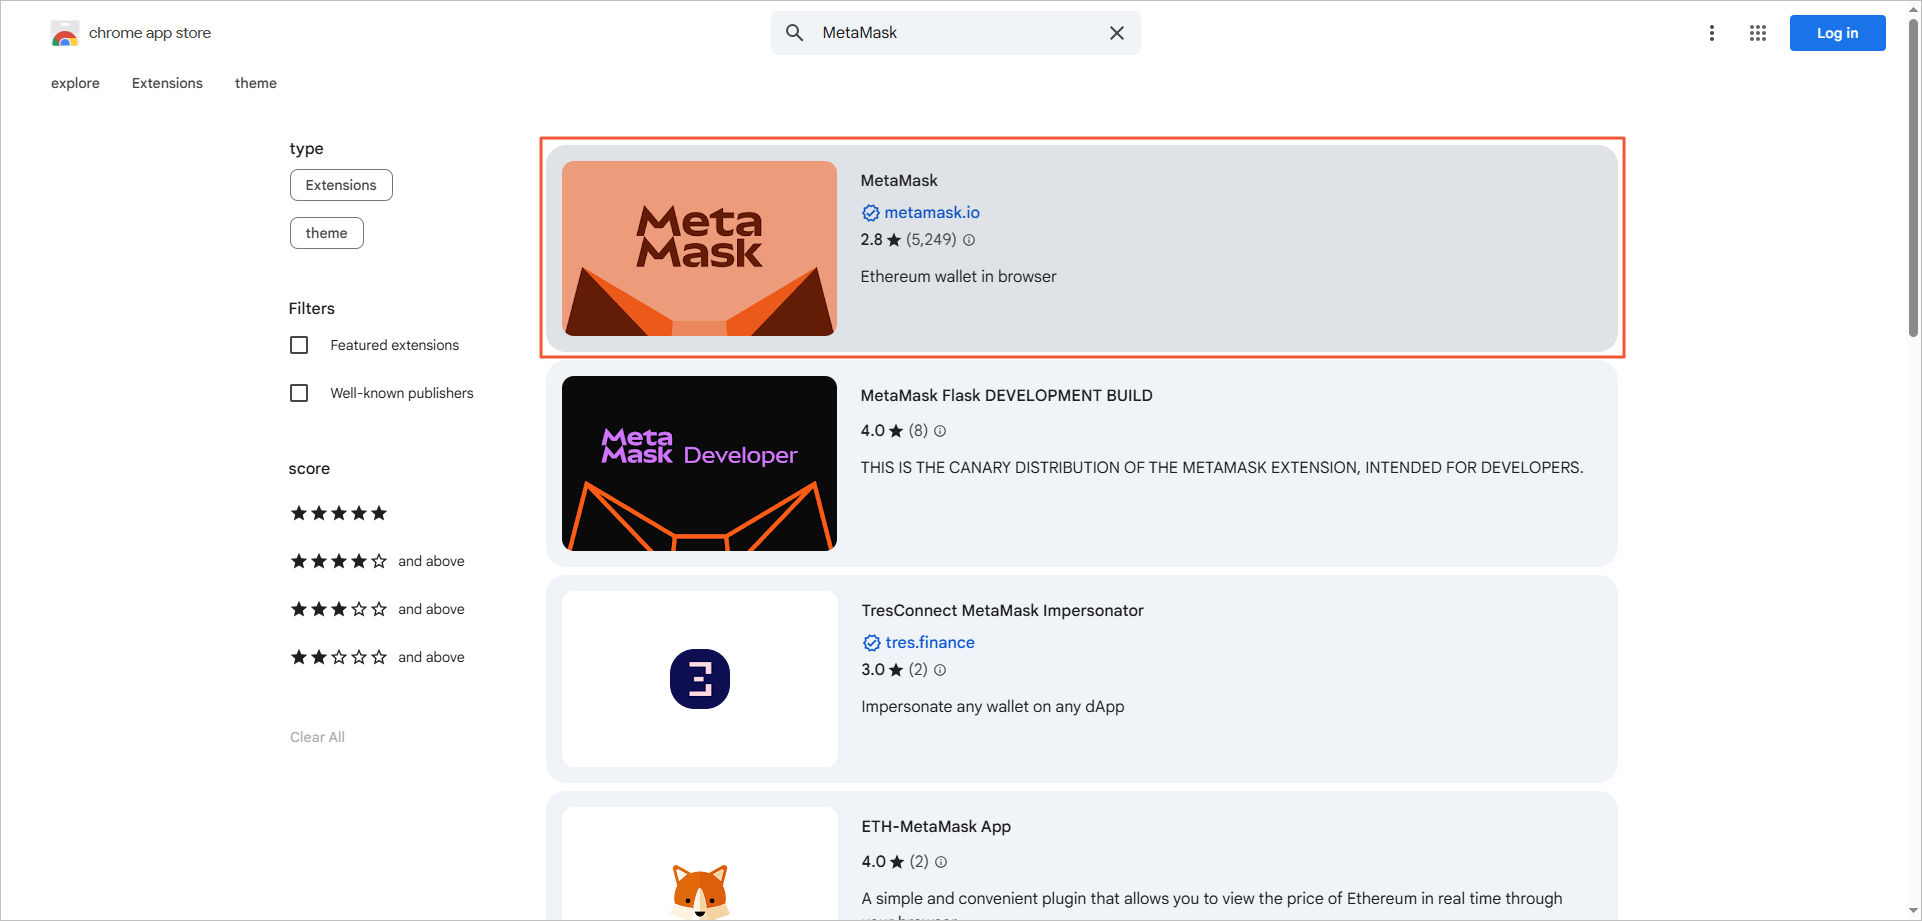
Step 1: Install MetaMask
-
Open the Chrome Web Store, and type "MetaMask" in the search bar.
-
In the search results, click on the MetaMask extension.
-
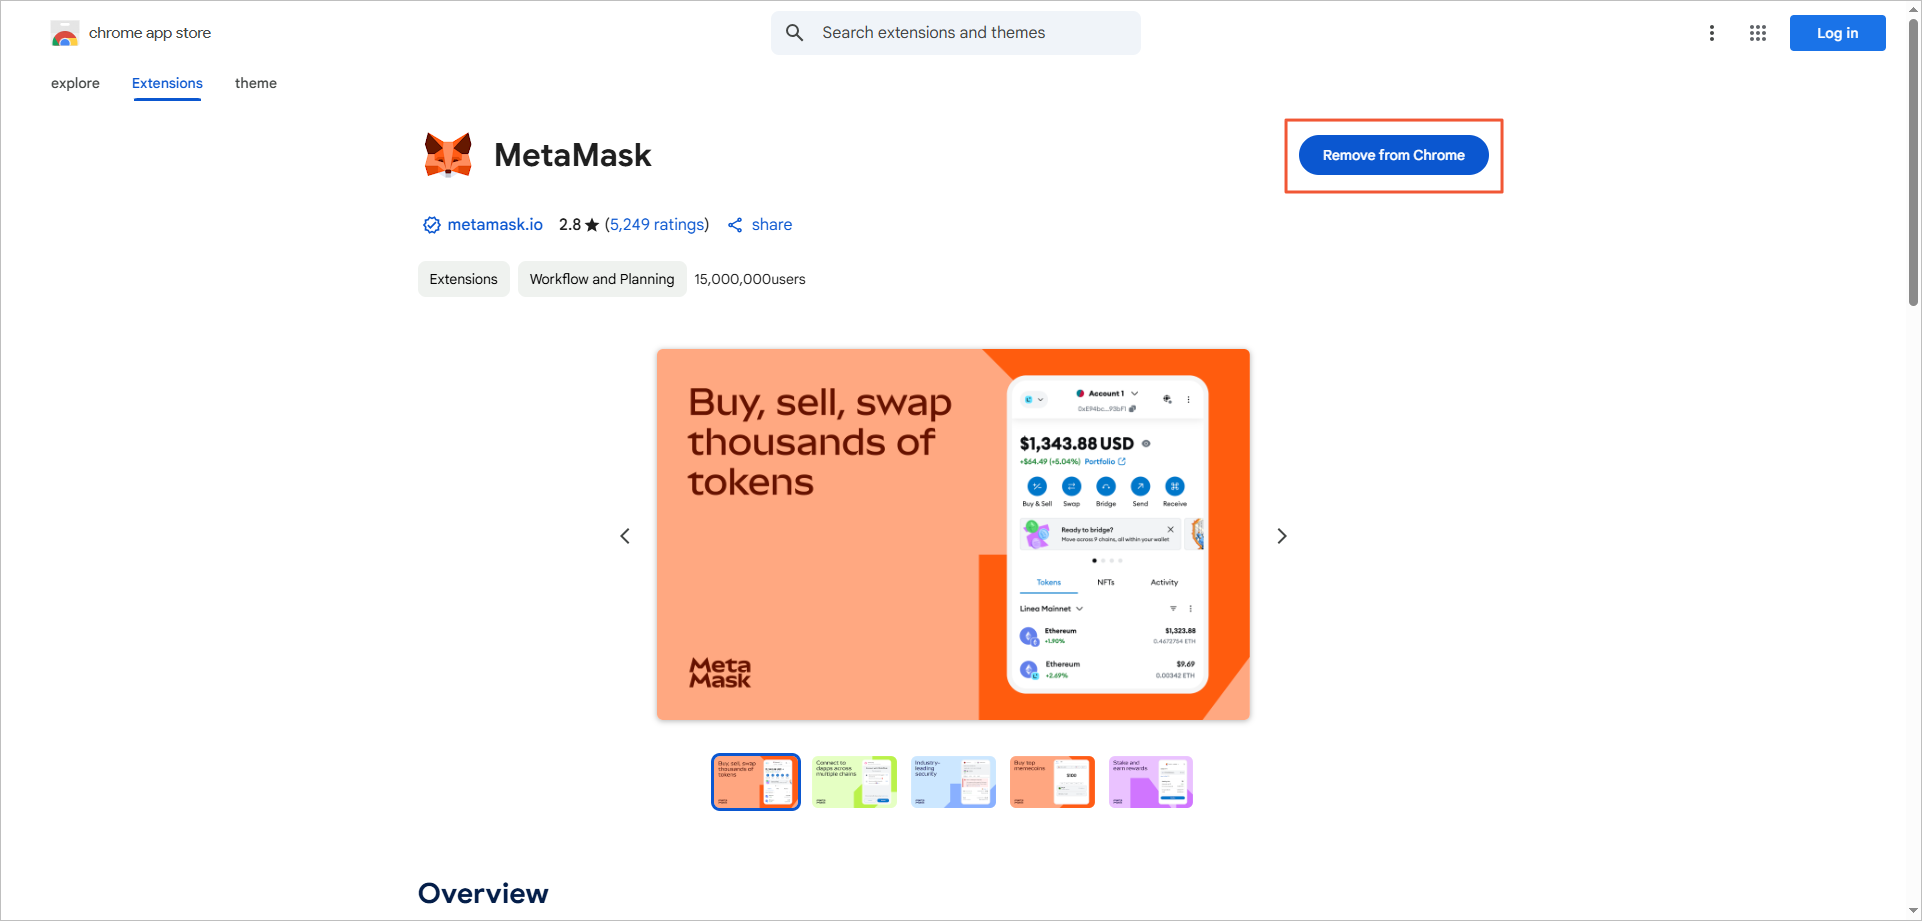
Click Add to Chrome, the browser will automatically download and install the extension.
-
After installation, the page will display as follows.

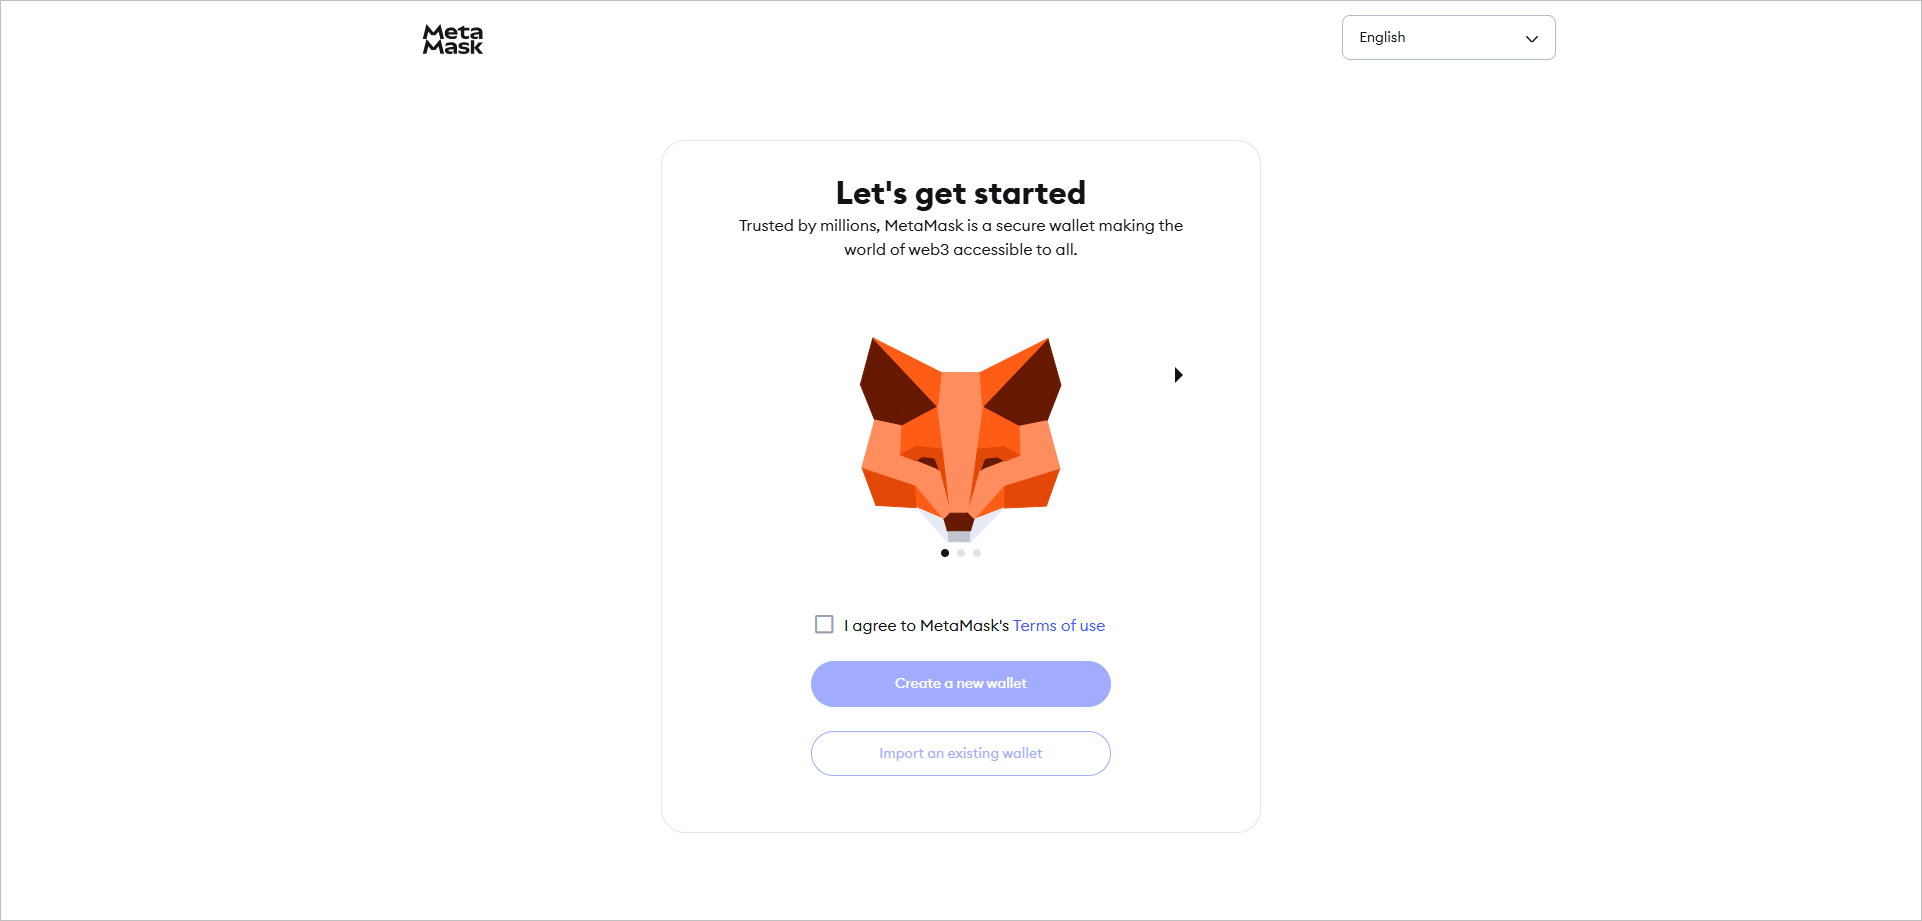
Meanwhile, the browser will automatically open a page to configure the wallet account. This page will guide you to create a new MetaMask wallet account, or import an existing wallet account.
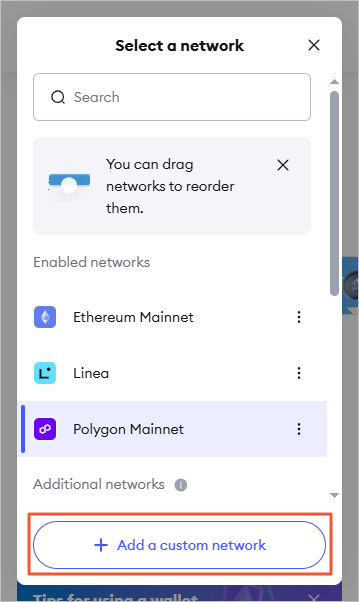
Step 2: Configure RPC Chain Node
-
Open the MetaMask extension, click on the network switch at the top left corner.

-
Click Add a custom network.
-
According to the parameter description, configure the information of the custom RPC network.
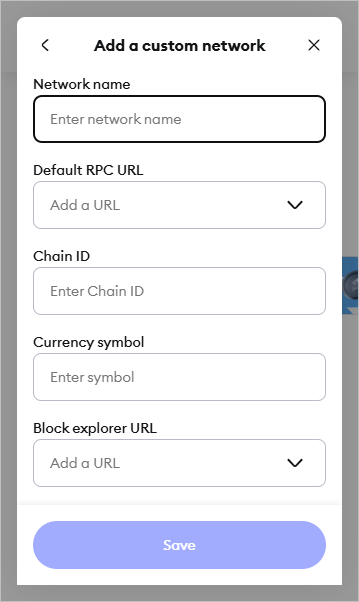
| Parameter | Description |
|---|---|
| Network name | Customize the network name. The name of the network, which facilitates easy identification of different networks. If you are adding a custom network, we recommend that you use the network name, such as ETH Mainnet. |
| Chains | By switching the blockchain options at the top of the page, view network information of different blockchains. By default, Ethereum blockchain information is displayed. The platform now supports over 22 blockchains and will support more EVM-compatible and other blockchains in the future. |
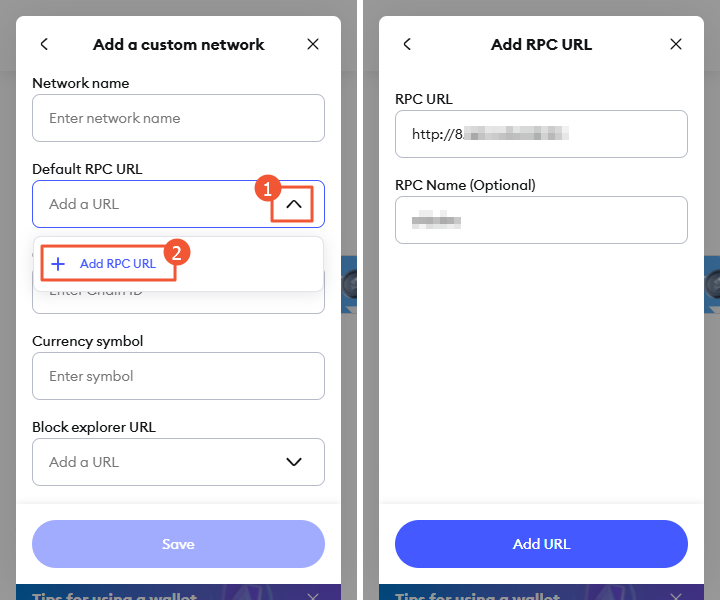
| Default RPC URL | Click the drop-down box of Default RPC URL, then click Add RPC URL. Fill in the corresponding RPC URL and RPC Name (optional) in the input box, then click Add URLafter completion.
|
| Chain ID |
The chain ID, which is used to sign transactions. Different chains have different fixed IDs. The chain ID is required for obtaining network configuration. For example, Polygon's chain ID is 137. |
| Currency symbol | Customize the currency symbol. The currency symbol that MetaMask uses for the network's native currency. For example, the currency symbol is ETH for Ethereum Mainnet, BNB for BSC networks, and MATIC for Polygon networks. |
| Block explorer URL |
The URL of the blockchain browser, which is used to check transaction details and other information. For example, the URL of the blockchain browser for Polygon is https://etherscan.io. Click the drop-down box Block explorer URL, then click Add RPC URL. Fill in the corresponding RPC URL in the input box, then click Add URL. |
-
Finally, click Save.
📘Note: There may be no reaction after saving, which may be related to the network request or MetaMask. Please try clicking the Save button multiple times, then close the page and wait for a while to see the custom network take effect.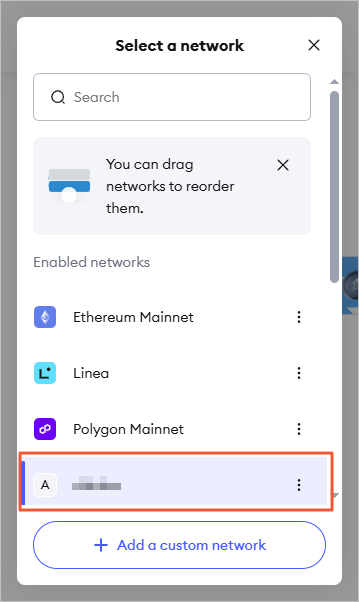
Step 3: Configure Wallet Account
-
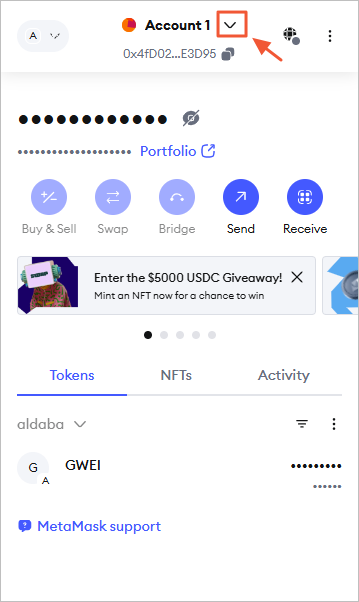
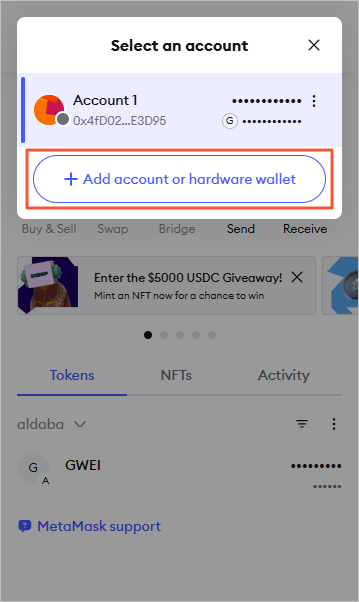
Click on the account drop-down box.
-
Click Add account or hardware wallet.
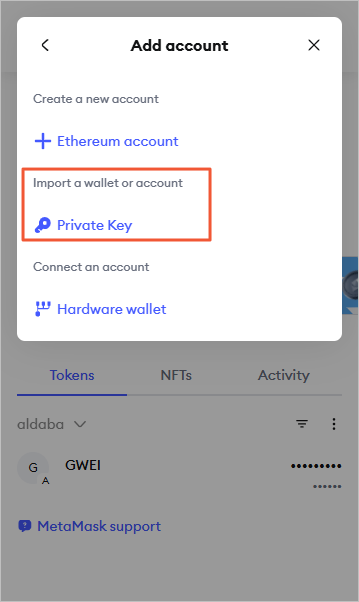
-
Click Import via private key.
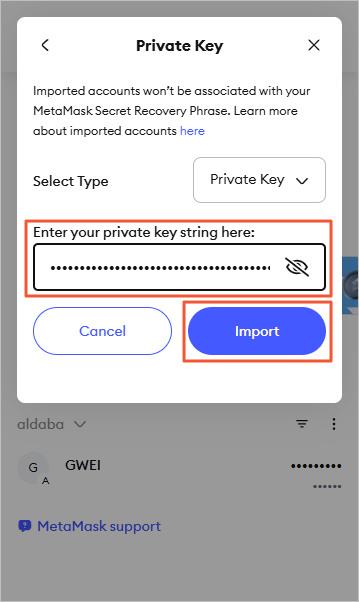
-
After entering the private key, click Import (the private key is not displayed here).
-
On the homepage, you can see the wallet balance of the corresponding account.
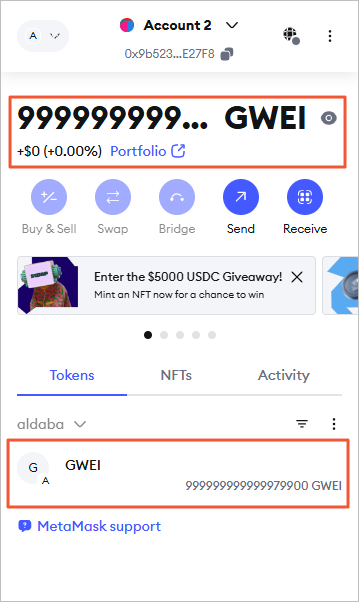
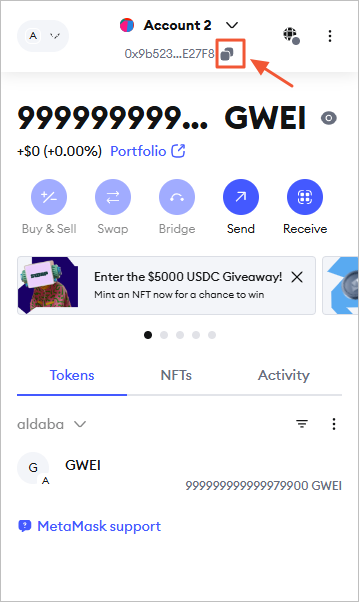
Step 4: Get the ACCOUNT_ADDRESS Required by SmartCogent
Click on the copy icon on the right side of the corresponding blockchain network account to copy the account address to the clipboard in one click.
Updated 6 months ago