API Instructions

This page will help you get started with Node Service.

Overview

ZAN Node Service provides reliable and robust blockchain infrastructure solutions with enterprise-grade performance and security. This guide helps you get started with our API services quickly.

Supported Ecosystems

Ethereum

Solana

BNB Smart Chain

Polygon

Optimism

Arbitrum

Ton

Base

zkSync Era

Starknet

Tron

Avalanche

Fantom

Taiko

Mantle

Bitcoin

Sui

Aptos

Core

Pharos

Mint

Gravity Alpha

Jovay

Near

X Layer

Hyperliquid

Monad

Basic Usage Instructions

ZAN Node Service provides a set of JSON-RPC APIs for you to interact with the blockchain, which are similar to the JSON-RPC APIs provided by the native node client. The easiest way to use the APIs is directly sending an HTTP POST request with the API key in the URL. Here's an example to use curl to send an HTTP POST request to get the latest block number of Ethereum mainnet.

## JSON-RPC over HTTP POST
## Replace {apiKey} with the API key you obtained from the ZAN dashboard.
## You can also replace the "eth" and "mainnet" with any other supported networks.
curl https://api.zan.top/node/v1/eth/mainnet/{apiKey} \
    -X POST \
    -H "Content-Type: application/json" \
    -d '{"jsonrpc":"2.0","method":"eth_blockNumber","params":[],"id":1}'

And here's an example to use wscat to send a WebSocket request for the same purpose.

## JSON-RPC over WSS
## Replace {apiKey} with the API key you obtained from the ZAN dashboard.
## You can also replace the "eth" and "mainnet" with any other supported networks.
wscat -c wss://api.zan.top/node/ws/v1/eth/mainnet/{apiKey}
>{"jsonrpc":"2.0","method":"eth_blockNumber","params":[],"id":1}
  • See Supported Ecosystems for the endpoint URLs of the currently supported ecosystems.
  • See the API reference of each ecosystem for more information about the available APIs.

Authentication Methods

API Key Authentication

All API requests must be authenticated using your API key. Follow the instructions on Quickstart Guide to obtain your API key from the ZAN Node Service Console .

  • HTTP Header Method (Recommended)
    Authorization: Bearer YOUR_API_KEY
    Example with cURL:
    curl -X POST https://api.zan.top/node/v1/eth/mainnet \
      -H "Authorization: Bearer YOUR_API_KEY" \
      -H "Content-Type: application/json" \
      -d '{"jsonrpc":"2.0","method":"eth_blockNumber","params":[],"id":1}'
  • Query Parameter Method
    GET https://api.zan.top/node/v1/eth/mainnet?apiKey=YOUR_API_KEY
📘

Security Recommendation:

Use HTTP Header method for production environments as it's more secure and doesn't expose API keys in URLs.

Request Signing (Advanced Security)

For enhanced security, you can sign your requests using your API key secret:

const crypto = require('crypto');
const axios = require('axios');

async function sendSignedRequest() {
  const apiKey = 'YOUR_API_KEY';
  const apiSecret = 'YOUR_API_SECRET';
  const timestamp = Date.now();
  const method = 'POST';
  const path = '/node/v1/eth/mainnet';
  const body = JSON.stringify({
    jsonrpc: "2.0",
    method: "eth_blockNumber",
    params: [],
    id: 1
  });

  // Generate signature
  const message = `${timestamp}${method}${path}${body}`;
  const signature = crypto
    .createHmac('sha256', apiSecret)
    .update(message)
    .digest('hex');

  const response = await axios.post(
    `https://api.zan.top${path}`,
    body,
    {
      headers: {
        'Content-Type': 'application/json',
        'X-API-Key': apiKey,
        'X-Timestamp': timestamp,
        'X-Signature': signature
      }
    }
  );
  
  return response.data;
}

WebSocket Authentication

For real-time data streams using WebSocket connections:

const WebSocket = require('ws');

// Establish WebSocket connection
const ws = new WebSocket('wss://ws.zan.top/node/v1/eth/mainnet');

ws.on('open', function open() {
  // Send authentication message
  const authMessage = {
    action: 'authenticate',
    apiKey: 'YOUR_API_KEY',
    timestamp: Date.now()
  };
  
  // Sign the authentication message if using request signing
  const signature = generateSignature(authMessage, 'YOUR_API_SECRET');
  authMessage.signature = signature;
  
  ws.send(JSON.stringify(authMessage));
  
  // Subscribe to events after authentication
  ws.send(JSON.stringify({
    action: 'subscribe',
    channel: 'newBlocks'
  }));
});

ws.on('message', function incoming(data) {
  console.log('Received:', JSON.parse(data));
});

API Key + Secret Dual Encryption

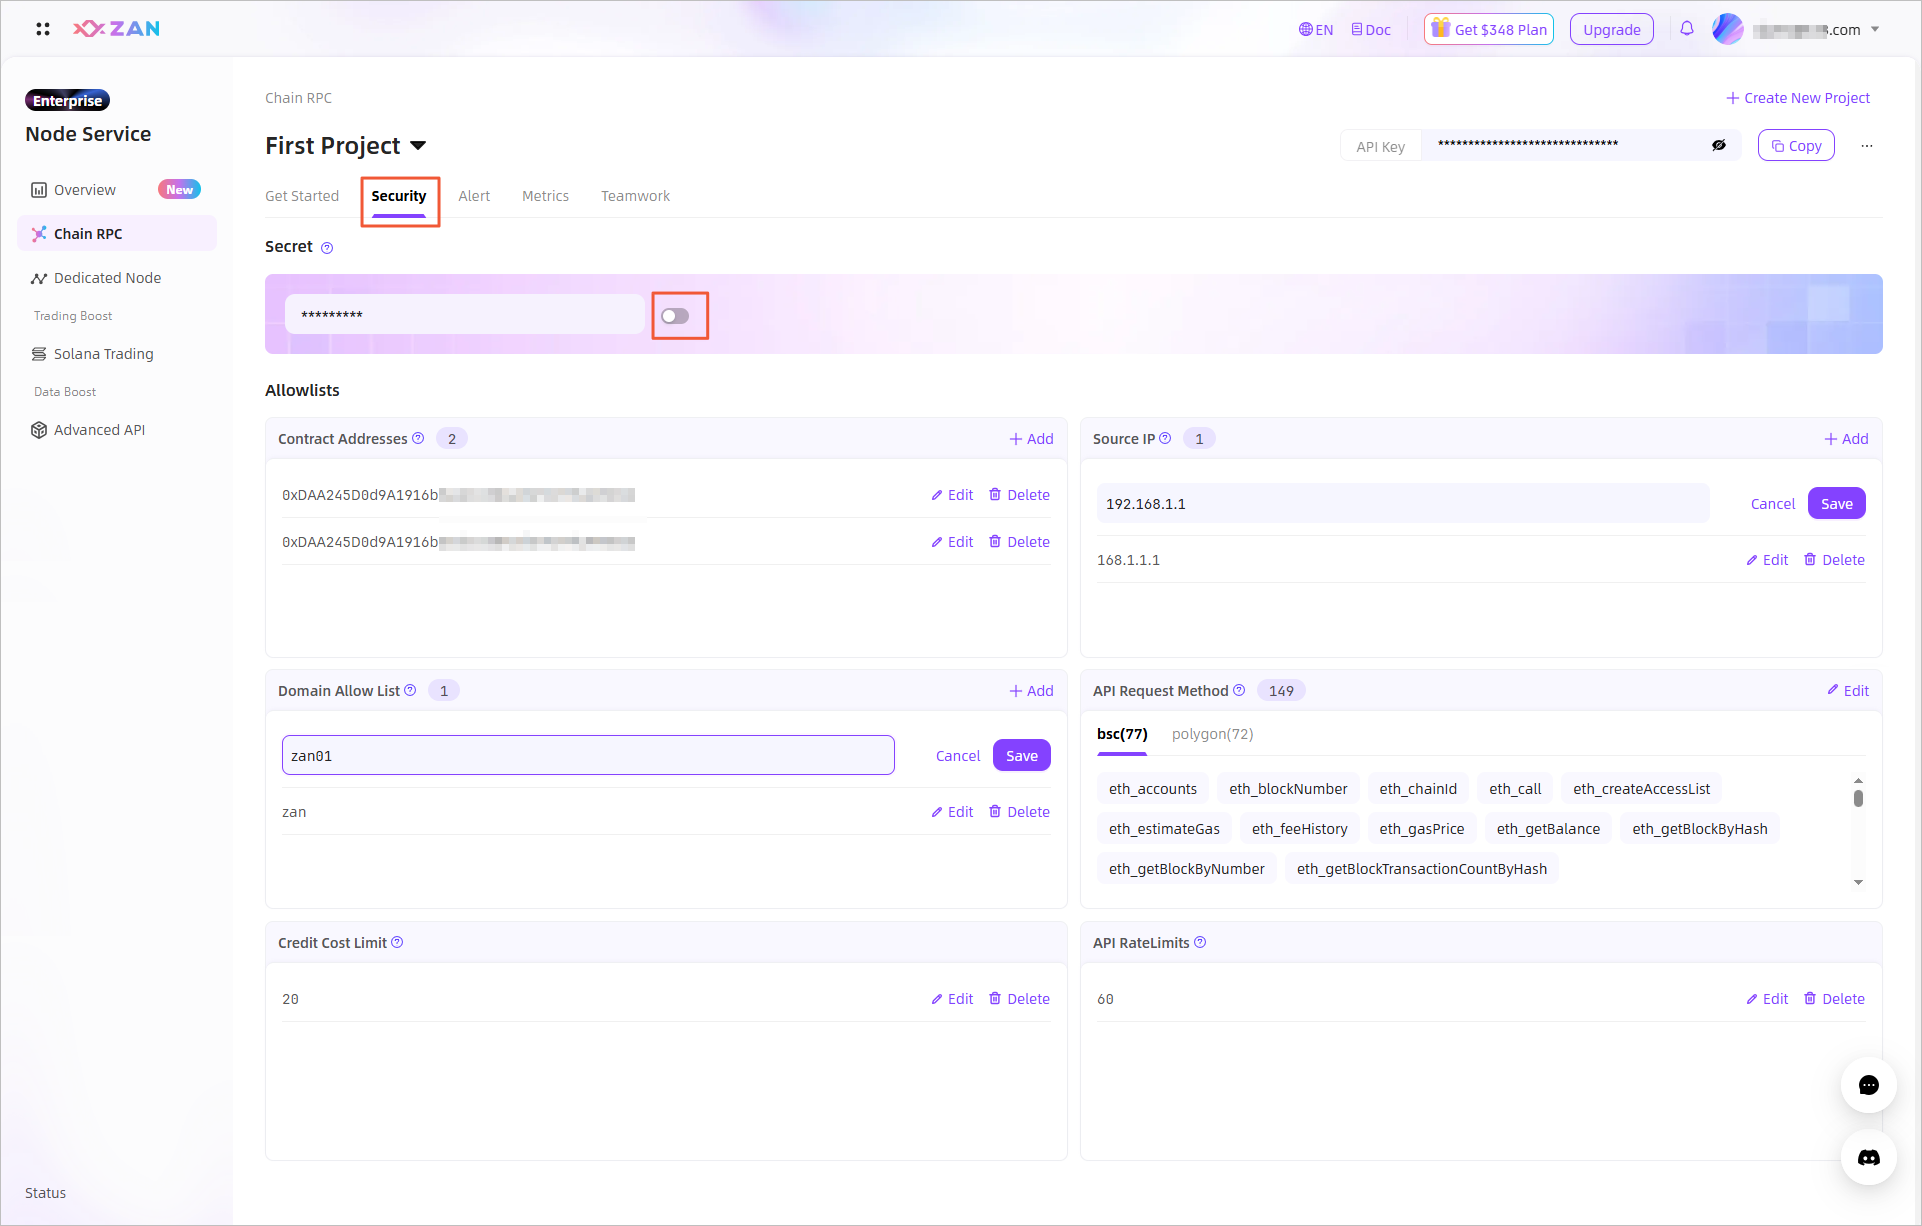
Enforce additional security by requiring an API key secret for all requests, see Configuring secret-based two-factor authentication.

  • HTTPS

    curl --user :{secretKey} \
      https://api.zan.top/node/ws/v1/eth/mainnet/{apiKey} \
      -X POST \
      -H "Content-Type: application/json" \
      -d '{"jsonrpc":"2.0","method":"eth_blockNumber","params":[],"id":1}'
  • WebSocket

    wscat -c wss://api.zan.top/node/ws/v1/eth/mainnet/{apiKey} --auth ":{secretKey}"
    > {"jsonrpc":"2.0","method":"eth_blockNumber","params":[],"id":1}

First Request Example

Prerequisites

Before making your first API call, ensure you have:

  • ZAN Account: Sign up at ZAN console.
  • API Key: Follow the instructions on Quickstart Guide to obtain your API key.
  • Development Environment:
    • cURL or HTTP client
    • Programming language of choice (Node.js, Python, etc.)
    • Required libraries (see below )

Step-by-Step Guide

  1. Get your API key and URL endpoint, for detail see Get Your API Key.

  2. Make your first request, for detail see Verify the validity of the API Key.

    Basic cURL Example:

    curl -X POST https://api.zan.top/node/v1/eth/mainnet \
      -H "Authorization: Bearer YOUR_API_KEY" \
      -H "Content-Type: application/json" \
      -d '{
        "jsonrpc": "2.0",
        "method": "eth_blockNumber",
        "params": [],
        "id": 1
      }'

    Expected Response:

    {
      "jsonrpc": "2.0",
      "id": 1,
      "result": "0xf4240"
    }

Popular Blockchain Libraries

If you plan to use the APIs in a programming language, there are plenty of libraries to help with that, including:

web3.js (for JavaScript)

var Web3 = require('web3');
var provider = 'https://api.zan.top/node/v1/eth/mainnet/{apiKey}';
var web3Provider = new Web3.providers.HttpProvider(provider);
var web3 = new Web3(web3Provider);
web3.eth.getBlockNumber().then((result) => {
  console.log("getBlockNumber(): ",result);
});

For more information, see: https://web3js.readthedocs.io.

Ethers (for JavaScript)

var ethers = require('ethers');
var url = 'https://api.zan.top/node/v1/eth/mainnet/{apiKey}';
var customHttpProvider = new ethers.providers.JsonRpcProvider(url);
customHttpProvider.getBlockNumber().then((result) => {
    console.log("getBlockNumber(): " + result);
});

For more information, see: https://docs.ethers.org.

web3.py (for Python)

from web3 import Web3, HTTPProvider
connection = Web3(HTTPProvider('https://api.zan.top/node/v1/eth/mainnet/{apiKey}'))
print ("getBlockNumber():", connection.eth.blockNumber)

For more information, see: https://web3py.readthedocs.io.

web3j (for Java/Kotlin/Scala)

Web3j client = Web3j.build(new HttpService("https://api.zan.top/node/v1/eth/mainnet/{apiKey}"));
EthBlockNumber ethBlockNumber = client.ethBlockNumber().sendAsync().get();
System.out.println("getBlockNumber(): "+ethBlockNumber.getBlockNumber());

For more information, see: https://docs.web3j.io.

Related